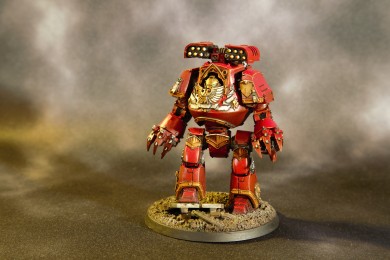
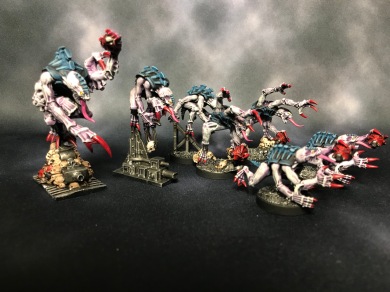
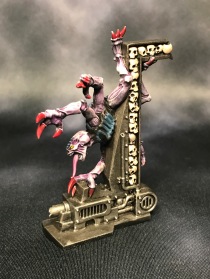
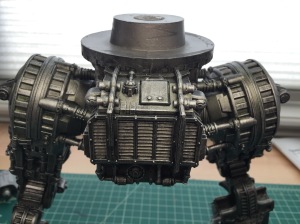
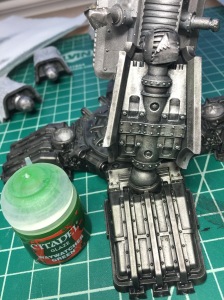
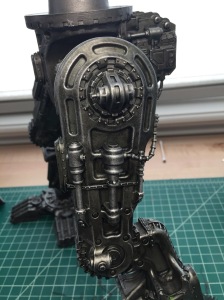
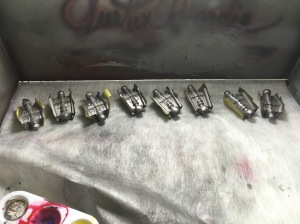
ForgeWorld Contemptor Pattern Relic Dreadnought
Catching up on my years old painting queue. Had this built and primed for > 2 years. Finally finished it. I didn’t matte coat it and weather it like my other contemptor, so it’s a bit shiny, but I have SO many models to get through I’m honestly lowering my standard just a bit, especially on stuff I can always circle back on and enhance later (like matte varnish and weathering).
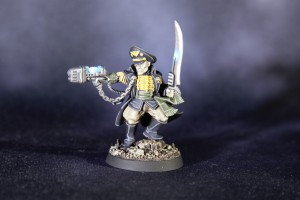
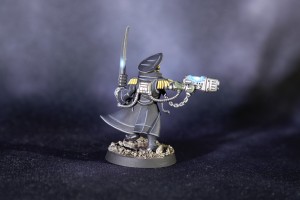
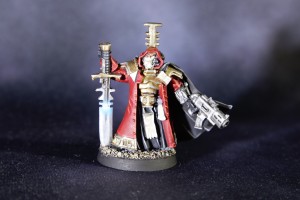
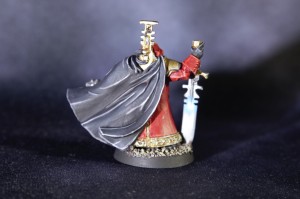
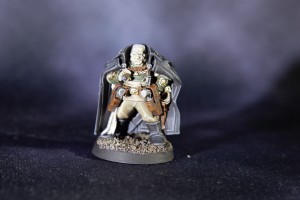
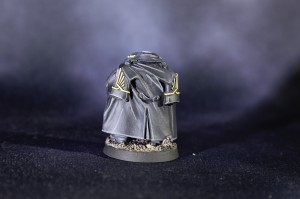
Commision – Lord Commissar – Brandon Minor
commissioned Lord Commissar by Brandon Minor of Frontline Gaming Paint Studios
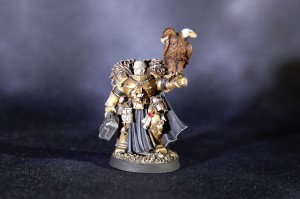
Commission – Torquemada Coteaz – Brandon Minor
commissioned Torquemada Coteaz by Brandon Minor of Frontline Gaming Paint Studios
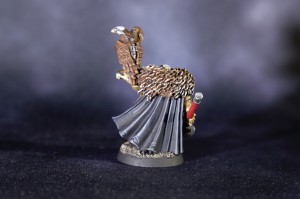
Commission – Lord Kaldo Draigo – Brandon Minor
commissioned Kaldor Draigo by Brandon Minor of Frontline Gaming Paint Studios
Commission – Inquisitors – Brandon Minor
commissioned Inquisitors by Brandon Minor of Frontline Gaming Paint Studios
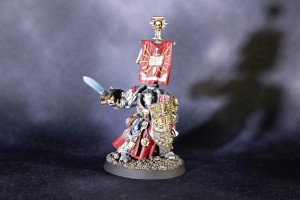
Commission – Lord Castellan Creed – Brandon Minor
commissioned Lord Castellan Creed by Brandon Minor of Frontline Gaming Paint Studios
Commission – Astra Militarum Preachers – Brandon Minor
commissioned Astra Militarum Preachers by Brandon Minor of Frontline Gaming Paint Studios
Commission – Primaris Psyker – Brandon Minor
commissioned Primaris Psyker by Brandon Minor of Frontline Gaming Paint Studios
Commission – Regimental Advisors – Brandon Minor
commissioned Regimental Advisors by Brandon Minor of Frontline Gaming Paint Studios
Commission – Wyrdvane Psykers – Brandon Minor
commissioned Wyrdvane Psykers by Brandon Minor of Frontline Gaming Paint Studios
Commission – Sebastian Yarrick – Brandon Minor
commissioned commissar Yarrick by Brandon Minor of Frontline Gaming Paint Studios
Warlord Titan Saevus Ultio Complete!
It took me 1 year, 2 months, and 7 days to complete my warlord titan. Not the fasted build so far but I enjoyed every minute of it. And my Legio Invicta Maniple is now 1 warlord, 1 reaver, and 2 warhounds!
Warlord Titan – More caution stripes!
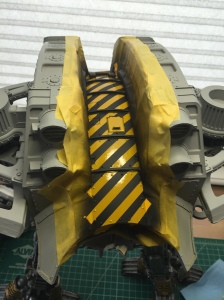
For some reason, I got it in my head that the carapace top between the reactor ridges would be cool as black/yellow caution stripes.
Of course it’s one of the hardest areas to mask easily, but I couldn’t get it out of my head, so here goes!
First, about 45 minutes of careful masking with Tamiya masking tape.
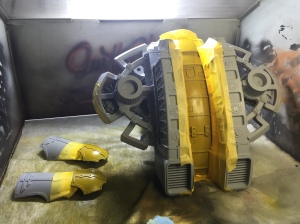
Then about 30 (or was it 50?) light coats of Wicked Golden Yellow. If you spray this too thick it pools up and dries unevenly, so many many thin coats is the name of the game.
Hit the knee pads while I had the paint in the cup.
Completed base yellow coat, drying overnight.
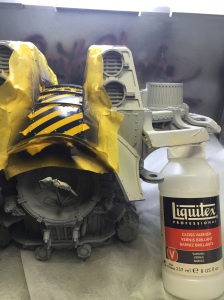
Sprayed 3 layers of liquitex Glossy varnish so the base yellow would be less likely to come up with the masking tape.
about 20 minutes into the stripe masking job. Because of all the rivets I was sure I was going to get ‘leaks’ of black paint under the taps, so resolved to lay down very, very light coats of black (which dry upon contact and are less likely to ‘run’ under the tape.
and more masking
and more masking
and then paint! about 10 very light coats of Vellejo black primer.
The moment of truth when airbrushing over masks/stencils is removing the mask. Will the paint peel up? how are the mask edges? any leaks? Basically, any black paint over yellow is almost impossible to repair because of hour transparent the yellow paint is… it’d never truly cover the black and look smooth.
Fortunately, the paint stayed down nicely because of my varnish, and the light coats of black paid off, no issues at all with the stripes! yay!
peeling away more mask, still looking good.
stripe mask completely removed, looking good so far!
So I applied 2 coats of varnish, so the masking tape I have to put on top of the whole area when priming the rest of the model silver doesn’t pull up the yellow/black I just spent so much time laying down.
So, in my jubilation, I pulled off the ‘outer mask and pulled up some of my caution striping in my rush. NOOOOOOOoooo!
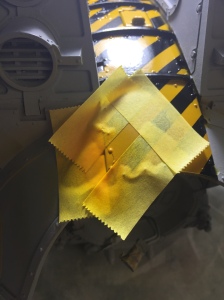
So, another quick mask
and many layers of Createx wicked yellow
and it’s more or less repaired. There’s a bit more color saturation and an textured edge on the joint, but better than primer grey!
And that is a day of painting. So. Much. Masking.
Warlord Titan – Painting the Legs Part II
Next, let’s do some caution stripe pistons!
Yellow is a PITA, even with an airbrush. Below is about 35 coats of Createx Wicked Golden Yellow (W011). I thinned with W100 reducer, although I just ordered W500 reducer, which I’m super excited about as it’s supposed to be way better. W100 can cause cratering, tip drying, dries slowly, and dires glossy.
W500 claims to address these issues which would make Createx Wicked Colors my main paint for basically everything.
Airbrushing models like this is 90% masking, 5% paint prep, and 5% actually airbrushing. Give in to this fact. Just surrender. Trust me.
I used 1/8″ 3m vinyl tape, which is good for really sharp edges, but a bit too sticky (risk of pulling up paint).
To combat this, I laid down three layers of Liquitex Gloss Varnish and let dry overnight. The gloss varnish toughens up the finish and makes the tape pull up without tearing the paint film. If you don’t have existing tape to use up, I’d recommend 3mm Tamiya masking tape, either the regular yellow stuff or the new white ‘for curves’ variety although I haven’t tried that yet.
After a few hours of masking, about 10 minutes of very light coats of Vallejo Black Primer which is one of my favorite paints of all time, as it shoots through my Iwata HP-BCS Airbrush with the 0.5mm setup like a dream, has great adhesion, and a great matte finish.
Caaaaarefully pulling up the tape.
Starting to apply a brown undercoat to the trim. This is actually P3 Bootstrap leather, my favorite brown paint.
I’m trying the new Games Workshop golds and I HATE THEM. They are super chunky. Applied lightly they give like 2% coverage and would take 50 coats. Applied liberally, they pool up and dry with an uneven, chunky texture. After searching online, I’m going to try Citadel ‘Retribution Armor’ gold base, which is supposed to act like the older Citadel ‘Shining Gold’ Paint which I LOVED. Failing that, adding ‘Lahmian Medium’ is supposed to help the new metallic paints. Failing that, I’ll use Reaper/MSP 9050 Antique Gold which is a perfectly serviceable gold, just not as good as the old ‘Shining Gold.’
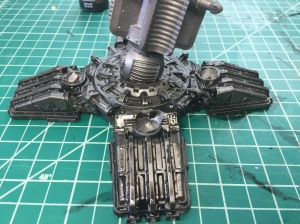
Here you can see the pistons painted and glued in. The second picture shows a piston that was clamped wrong, and dried in a tweaked position. :/ This is JBWeld, so once it’s glued, it’s glued. The Armor plates will make this mistake less obvious, but darn! :/
Not great lighting for these pics, but the warning stripe pistons on the warlord feet.
Warlord Titan – Painting the Legs Part I
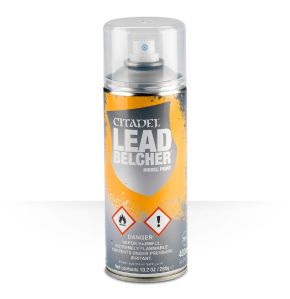
I covered the primed lower torso with Citadel Lead Belcher spray.
Then, I liberally applied buckets of Nuln Oil to the lower torso. It was messy… nuln oil was spattering all across my cutting mat, and citadel washes have a certain less than pleasant smell. It’s winter here and there are no flies, but somehow, somewhere, father Nurgle hatched a housefly just for me and I witnessed a fly buzzing around the drying nuln oil. I wonder what that stuff is made of…
Once the nuln oil dried (overnight, with the flies) I laid down a very light coat of waywatcher green glaze. The trick here is to not let it pool up, where it’ll look bright green. We’re just going for a slight tint to add some depth to the metal. If you really want to go crazy, you can actually add multiple tints (maybe a magenta) and make the metal even more complex.
After the glaze dries (pretty fast, a few minutes) it’s time to dry brush about half a pot of necron compound.
And that’s the basic metallic finish I’m using for the titan legs. 5 coats. Primer + Lead Belcher Spray + Nuln Oil + Waywatcher Green + Necron Compound dry brush. I sixth coat of the magenta glaze/tint would add more awesomeness.
Below I’m applying the same steps to the main leg pistons, plus the beginnings of the warning stripes.
I used the citadel Led Belcher Air to hit the back of the leg pistons (after masking the fronts)
Then I threw down the Nuln Oil
Masked Even More (PITA)
Then, I sprayed Creatix wicked Golden Yellow. For some reason of physics I don’t understand, yellows are always a complete pain the butt. It took about 30 coats to get the color saturation required without pooling/orange peeling the pigments.
And here is is a picture of my ArtoGraph 1520 Spray Booth but with the metal hood, which I don’t see on the artograph website any more.
So…much…painting…left. YAY! :)
Priming the Warlord Titan
I started 207 days ago (6 months, 23 days) and just this weekend got to ‘construction complete’ ! My very demanding career, even more demanding toddler, and a new home purchase & family move significantly slowed down my play time.
Anyhow, time to start the slow process of painting.
This weekend it was all about priming. I use Rust-Oleum Gray Sandable Primer for a few reasons.
- Gray: I like gray over black so I can create ‘highlights’ on the panels. I lay down a lighter gray base primer over the entire model, then add shadows with black primer around the edges of the armor panels. When laying down airbrush colors, which are almost all transparent to some degree (think ‘tint’ instead of ‘cover’), the color over the gray is brighter than the black, creating depth and making the model look less flat.
- Sandable: I sprayed at a temperature in the mid 80’s (crazy for February, welcome to San Diego, CA!). This is slightly warm for spray cans, which mean that some of the paint dries slightly before it adheres. This can leave a slightly rough surface texture. Because it’s a sandable primer, I can (and will) use steel wool to smooth down the primer coat and get a nice clean finish once I start using the airbrush.
- Spray Can: Usually I HATE spray cans, as they produce splotchy light/heavy coats, are difficult to control, waste a bunch of paint with overspray, smell horrible, and are super dangerous (read the MSDS!). However, what they excel at is adhesion. All those solvents (Acetone, Xylene, Mineral Spirits, Propane, Butane) really make that paint STICK! This is super critical when painting over resin. There is nothing more tragic (relatively speaking of course) then spending 100+ hours painting a Titan only to have the paint flake off when removing a mask on a critical part of the model. It’s happened to me, it sucked, wash your resin and lay down a good primer coat!
You can see masking done in the image gallery below. While masking the glue joint areas is time consuming, if you don’t do it, you either end up gluing paint film to paint film (which is a super weak bond) or you have to spend hours and hours scraping paint off the joint surfaces. This way, once painting is done it’s a simple matter of removing the mask, scoring the raw resin with an x-acto knife, and using Cyanoacrylate (CA) or JBWeld to get a strong joint.
Because it’s a spray can, there’s a huge amount of overspray, thus the giant piece of cardboard and the improvised spray station in the back yard.
Since I have a toddler, and spray paint has nasty solvents, I let the paint cure overnight in the garage before bringing back into my workshop. Even then my workshop smelled like a chemical factory for a few days (again, I usually avoid spray cans like the plague!).
Once the primer has dried for a good long period (I waited a day) I use steel wool to smooth over the finish. It creates a smoother finish, but creates a giant mess of steel wool lint all over the model. Fortunately, steel wool is magnetic and can be easily cleaned using magnets!
In this video you can see me pull off the steel wool lint. There is some lint stuck near the ‘eyes’ of the Titan because there’s another magnet up there, so I had to remove that with a q-tip.


